By Ohi Ahimie
A pandemic hobby my dad, and to a much lesser extent, myself have picked up is baking. My mom has joked that our house should be converted to a bakery named “Ahimie and Son’s”. Before this, I had never baked bread before. I hadn’t baked much at all before, maybe some cookies here and there. But bread seemed like “real” food and that was more intimidating.
My father didn’t think that. I’m not sure what he did think, but one day he was making loaves of bread in our kitchen. He’s always been an experimenter, especially when it comes to food.
“People discovered all the food we eat through trial and error, didn’t they?” – he says variants of this a lot.
Most of his bizarre culinary creations wind up sitting in the fridge for days/weeks with him as their sole consumer—not bread, however. The bread flies off the shelf. He makes larger batches now and stores them in the freezer, as it’s the only way to keep up with the four young adult stomachs in our house.
His concoctions aren’t all winners, it’s true. His first attempt at sourdough took the ‘sour’ part much too seriously. But later on, he created epic sourdoughs, and one time, we were delighted by a hidden cinnamon swirl in that day’s loaf. We haven’t had store bought bread in almost a year and I wonder if we ever will again. Today, I don’t just want to convince you to try making some simple bread recipes. I’m here to encourage you to keep up with it and get wild; add your own spin!
First, the basics. At some point, through a mix of quarantine boredom and paternal inspiration, I googled ‘bread recipe’. I followed the first result to great success. This recipe is for use in an oven, but the website has a version for bread machines as well. You will need:
- 2 cups warm water
- ½ cup white sugar
- 1 ½ tablespoons active dry yeast
- 1 ½ teaspoons salt
- ¼ cup vegetable oil
- 5-6 cups flour
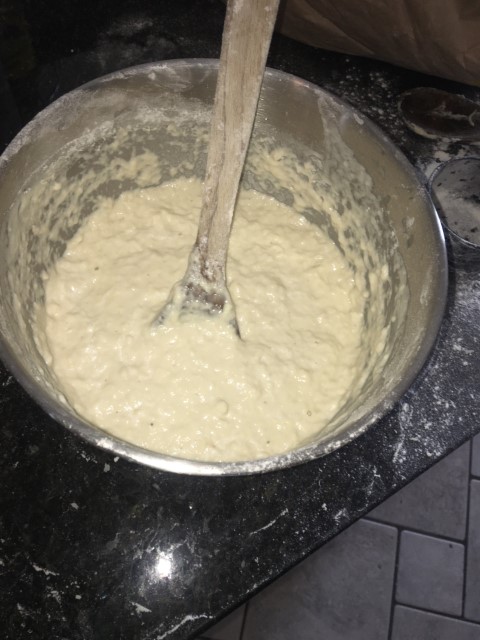
Begin with proofing your yeast. This means combining the yeast, warm water and sugar in a large bowl, and letting it sit for a few minutes until it forms a foamy pale brown layer on the top. Do this in a large bowl because we will mix the flour into this mixture. What we’ve done is fed (or activated if “feeding” creeps you out) the yeast, so that our bread will rise. You’ll know it’s done by a telltale malt/boozy type smell – the smell of fermentation.
Next, mix in the oil and salt. For the flour, you want to add one cup at a time and make sure it’s well mixed before you add the next. If you’re mixing with a spoon (as I did), I recommend strong, slow movements so as not to kick up flour everywhere and make a mess. This will get harder as more of the flour is added, and I had to use my hands to mix by the time I got to the last cup.
I see this as a bonus though, as the dough is in a very interesting state here. It’s not quite as solid as it will be during the kneading stage, and there are air pockets mixed in, so it feels like playing with a warm balloon that won’t pop. If you have a mixer, that is also a great choice. You’ll know you’ve added enough flour when the dough stops being like a paste and starts holding together and coming off the sides of the bowl.
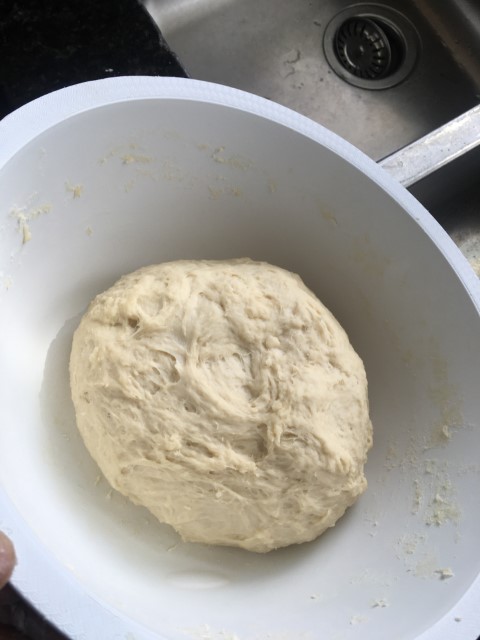
Now, knead the dough. This is the most fun part for me as it’s great fun to do with my hands. I think there’s a latent joy in all of us from the days we played with Play-Doh, and this is a good way to tap into that. I also think punching dough is a fun way to vent stress.
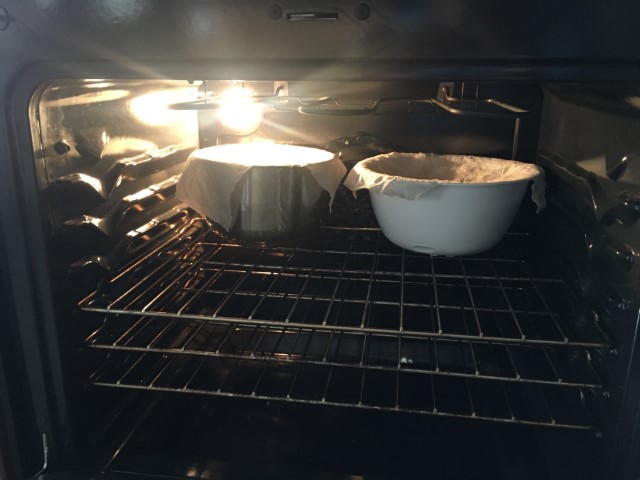
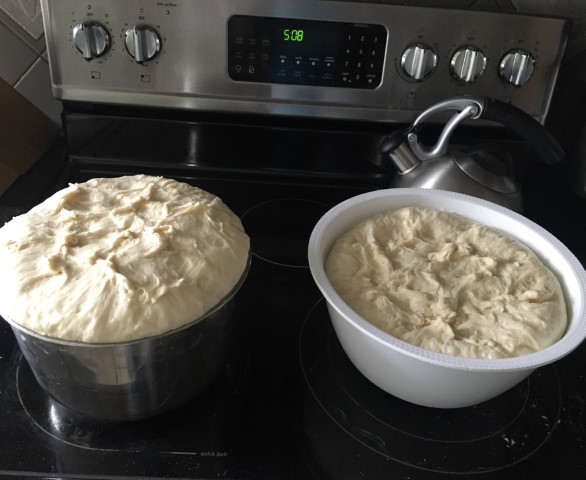
Repeatedly fold the dough in on itself until it has a uniform consistency and doesn’t feel sticky anymore. When you’re done, place the dough ball in an oiled bowl and cover with a damp cloth. Make sure this bowl is large too; the dough is going to double in size or more! You can also clean off your mixing bowl and reuse it. Let it rise for an hour. It’s a good idea to do this is a warm place, so one option is to preheat your oven for a minute or two, turn it off and put the bowl in there. If you live in a warm climate, just put it somewhere it won’t be disturbed.
*Oven rise 1, Caption: the white bowl is the recipe you’re currently reading. The metal one is the agege bread recipe (coming later)*
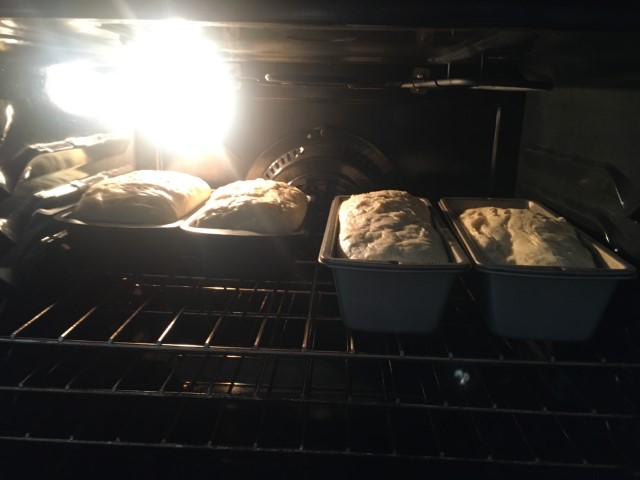
When that hour is up, get your dough. Your eyes will inevitably widen at how big it’s swollen. Now, punch and squeeze the air out of it, and re-knead, making sure to split it into halves. Grease two 9×5 in (23×13 cm) pans and place the baby loaves in each pan. Let them rise for another 30 minutes and bake at 350 degrees F (175 C) for 30-40 minutes. (Good thing we don’t have metric and imperial time, right?) If you have a thermometer, you can take the bread once the internal temperature is about 200 degrees F (93 C). Alternatively, you can tap the top of the loaf; if it sounds hollow, then it’s done.
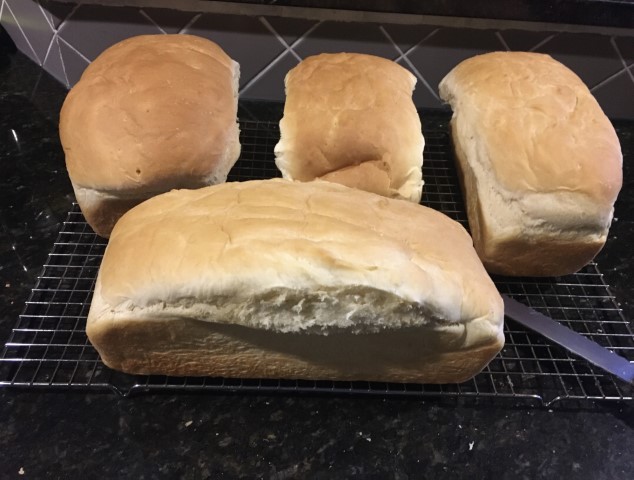
If you have a baking rack, place your bread on it as the bread cools. This is important because you want airflow to all sides of the bread for it to cool properly and avoid soggy bread. Who wants that? If you don’t own one, here are some alternatives.
The first thing you’ll notice is that the loaves are huge; my mom said they look like cartoon loaves of bread, and she’s right. The next thing you’ll notice is that wonderful smell. How do I describe the smell of bread? It’s almost like the smell of warmth itself. Your house will be filled with a light, sweet aroma, as if the tasty product wasn’t reward enough. The bread has a crunchy golden-brown exterior and subtle sweet flavor infused in its light and fluffy texture. This bread is excellent.
I would also like to share a recipe from my homeland. Let’s talk about agege (rhymes with payday) bread. It’s a very sweet and fluffy type of bread enjoyed by people of all walks of life in my home country of Nigeria. People are known to queue outside of bakeries, eager to get the loaves while they’re still warm. Here is the recipe. There are many ways to make it, and I believe that milk is commonly used, but not in this recipe. What I found interesting was that this recipe is very similar to the first one I linked to, but with different results. You will need:
- 6 cups all-purpose flour
- 2 packages active dry yeast (1 package is about 2 ¼ tsp)
- ½ cup white sugar
- 2½ cups warm water
- 3 tablespoons softened butter
- 1 tablespoon salt
The proofing process works the same way as above and should be familiar to you now. Mix in all the other ingredients the same way we did before. Note: this dough is stickier than the first recipe, so be aware of that. After that point, you can pretty much follow all the original instructions with this batch.
The results were even more inflated than the first loaves and had a paler colour. As I tasted my first bite of this bread, I savored the airy, ultra light texture that I associate with agege bread. It wasn’t perfect- I remember agege bread being sweeter, but I think any Nigerian who ate this would recognize the notes of our bread’s distinct flavor and say, “Yes oh, this is agege bread true-true.”
I pass on the torch of bread scientist to you, my dear reader. What you don’t see in this article are various recipes I tried out, some of them being more well thought out than others. For gluten free readers, here is a recipe you can use.
I hope to continue trying new recipes and carrying out more experiments (hopefully of the successful kind). Although I made some mistakes, the recipes were resilient enough to turn out well despite imperfection. I can only be described as an amateur, and yet I expect the four loaves I made to be devoured very quickly. Hopefully, that assuages any fears you might have about trying out baking. If you need a change of pace, I recommend you give it a shot.

